Ubuntu Server 18.04 x64 Deployment
Introduction:
It's been a while since I wrote my guide for the deployment of ubuntu 16.04, so I figured I would make one for the latest LTS release: 18.04!
Implementation:
First, download the ISO file from the ubuntu website: http://releases.ubuntu.com/18.04/ubuntu-18.04-live-server-amd64.iso
18.04 is an LTS release, much like 16.04. It'll be supported for 5 years. There's a good few changes, and we'll go through some of the more important ones relating to day 0 configuration.
Deployment:
This guide doesn't cover the creation of the VM within VMware, but below are the settings I used:
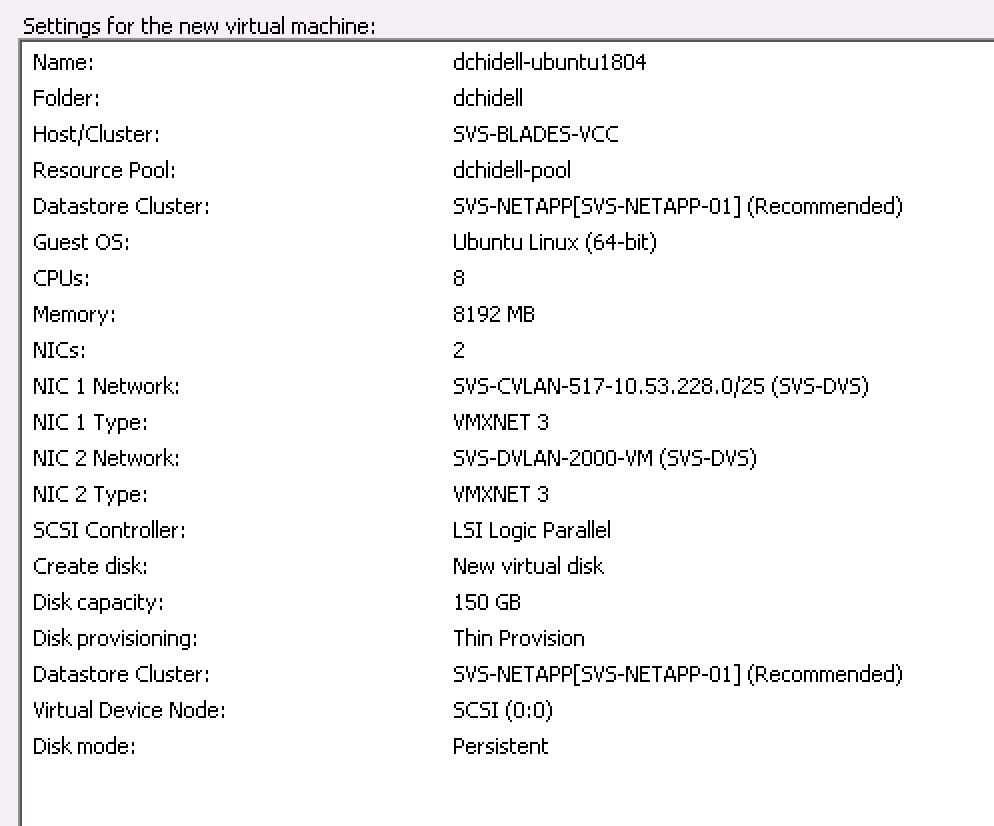
I've gone a little over-board with the resources, but I have plenty at my disposal. 1GB of RAM and 1vCPU would be enough for a small deployment!
Attach the ISO and boot from it, it's a little different to previous versions and will go through a few stages before getting to a meaningful prompt:
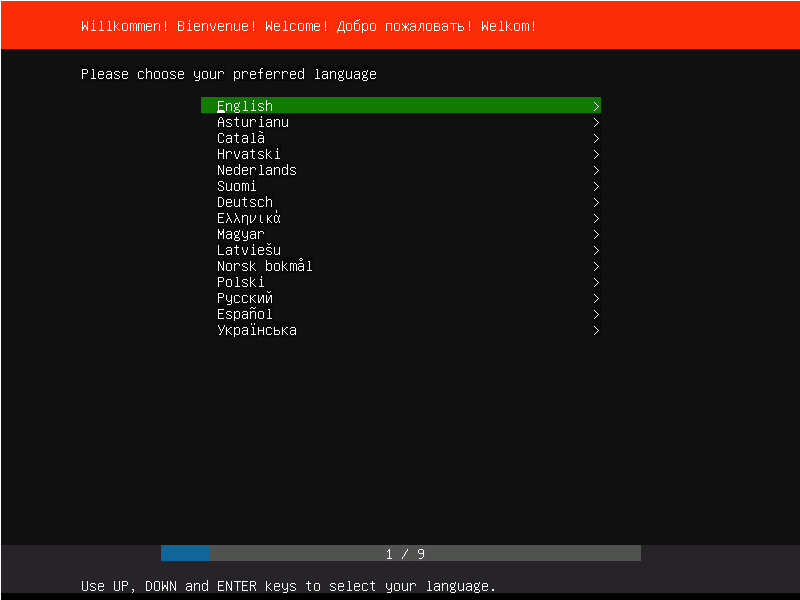
Pick the language: English
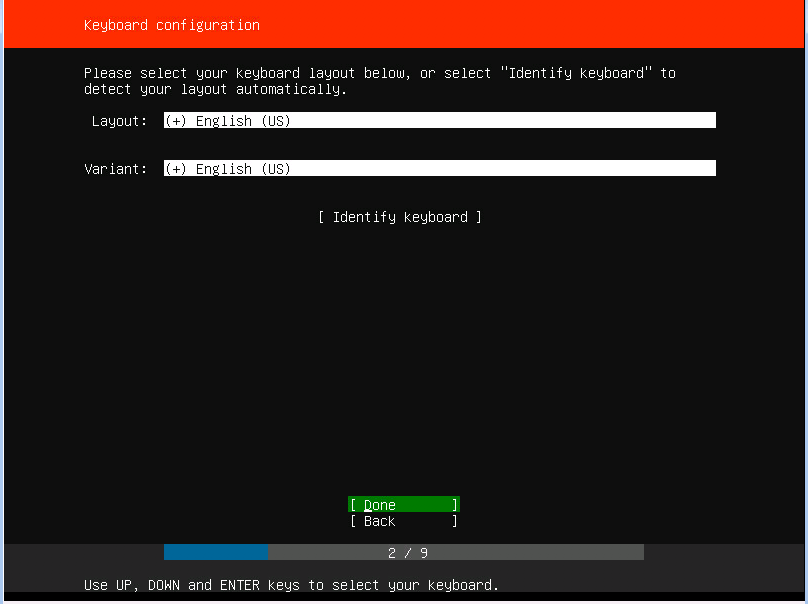
Keyboard Layout: English US (I'm too lazy to change it to UK)
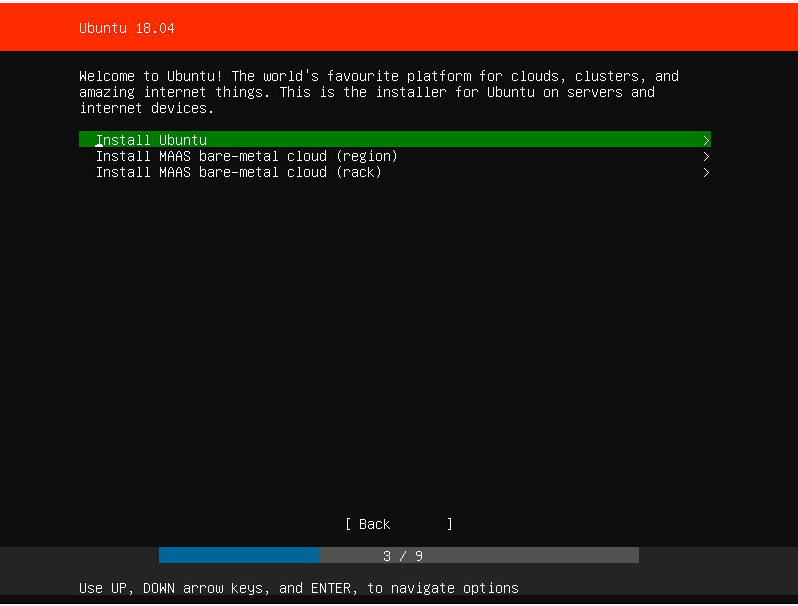
Install Ubuntu - That is what we're trying to do!
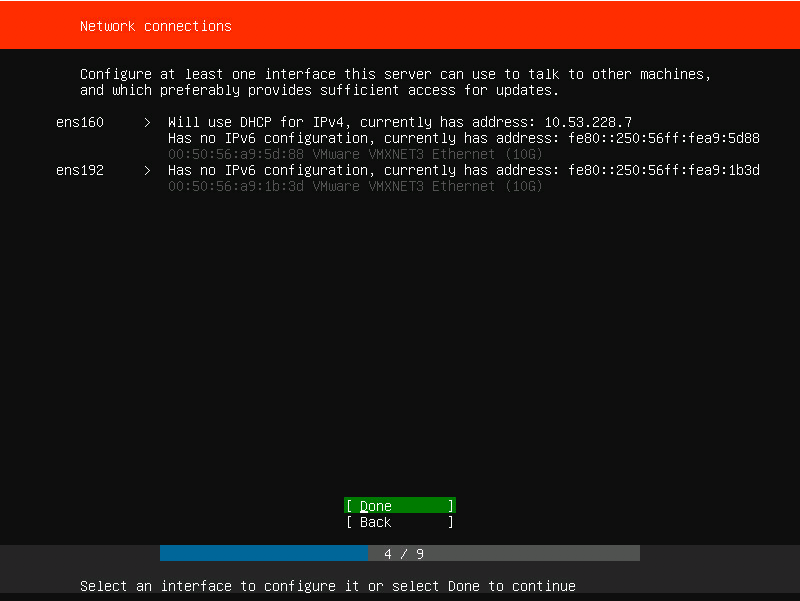
This is a rather nice screen - from here we can configure our interfaces! I have two, because I have dual-connectivity to two different locations. One of them has obtained an IP via DHCP, but the other needs manual configuration.
Use the Up / DN / Left / Right, Enter, Esc to navigate around, Enter and Esc being select and back respectively.
If you're using multiple NICs like I am, and you don't know which one to configure, you can see the MAC address displayed and compare that to the physical / virtual adapter.
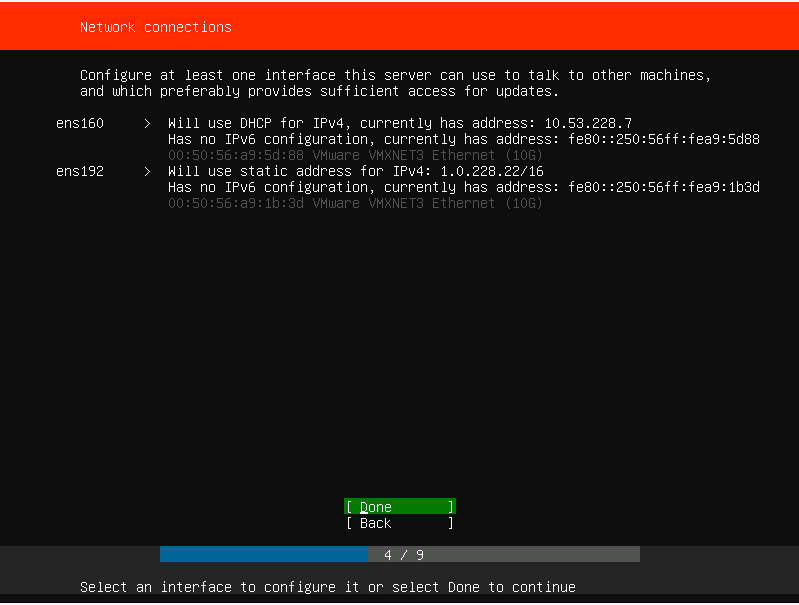
There's all my static configuration applied. I'm still going to have to mess with routing later, as my second NIC shouldn't have a default gateway so I have not applied one here. Hit Done to continue to the next screen.
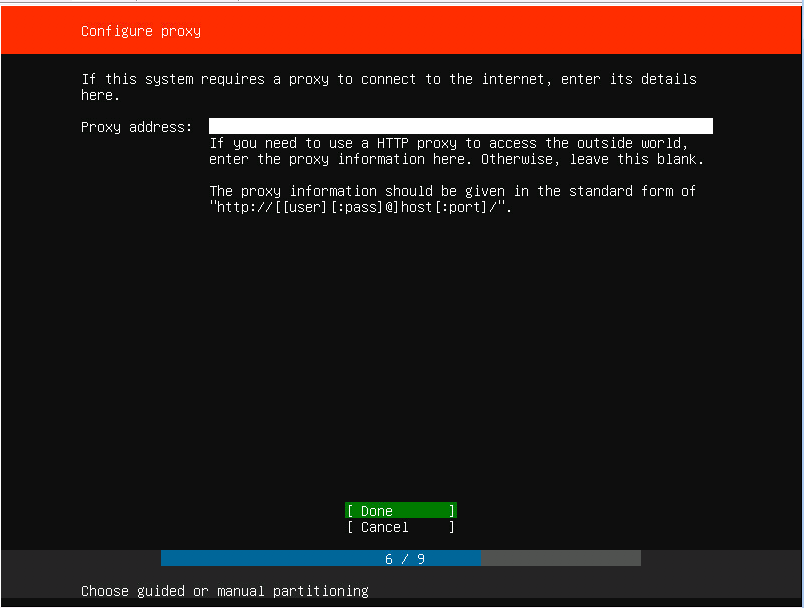
Enter a proxy server address if you're using one.
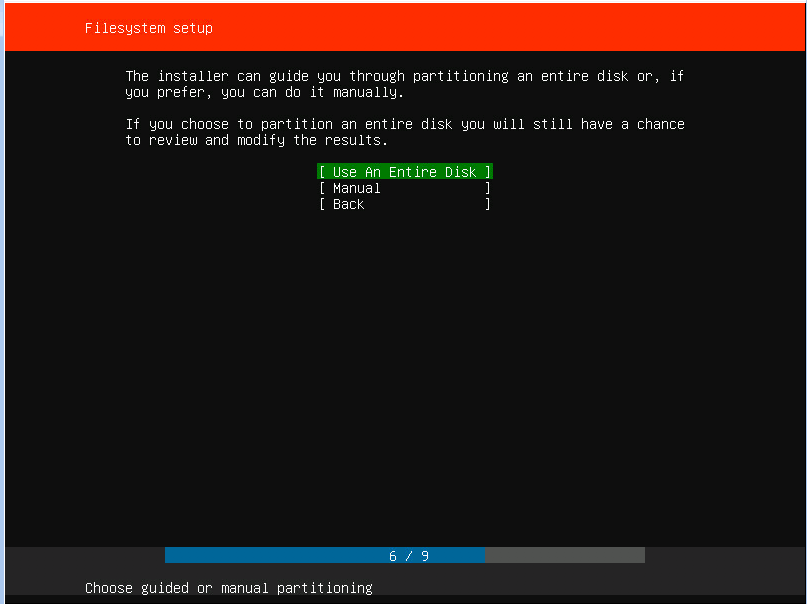
We want to use the whole disk - nice and easy, no messing about. Use Entire Disk
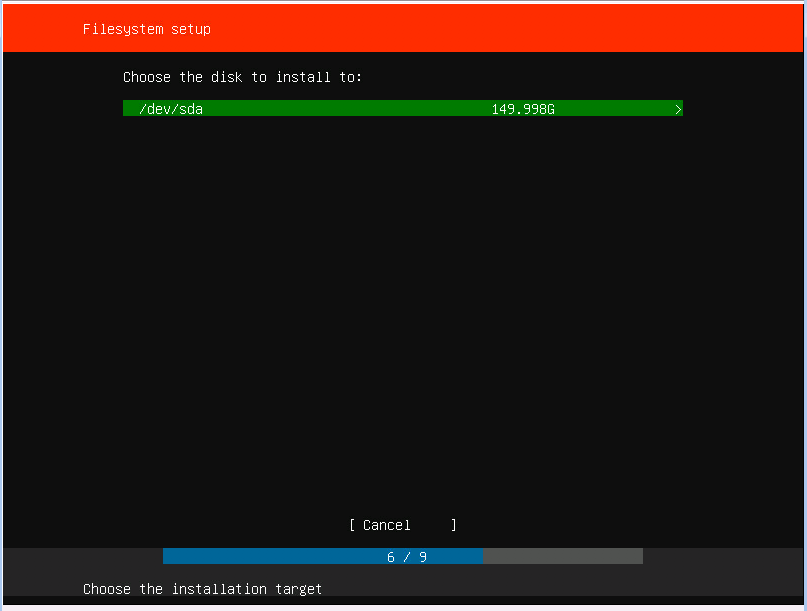
We've only got a single disk in the system, so again, nice and easy! Select it and continue.
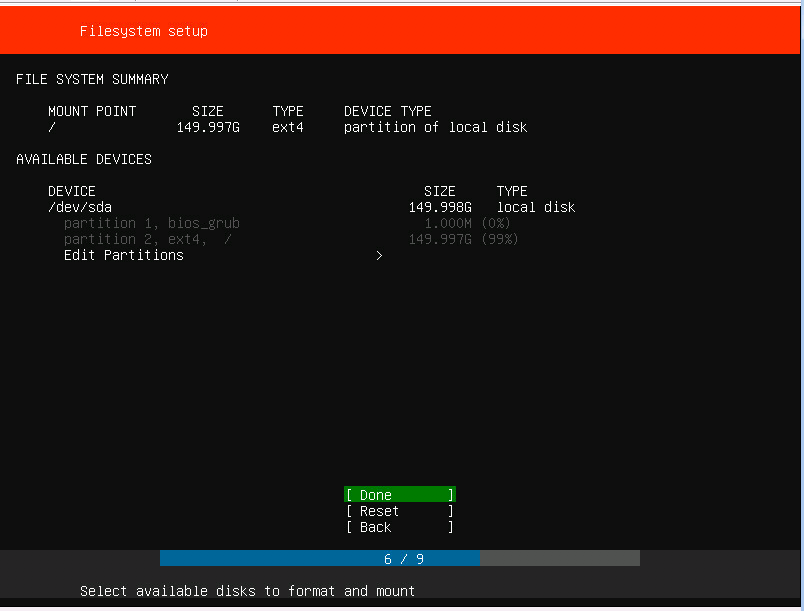
This confirms all the settings we've just chosen and gives an indication on how the partitioning will look. Unless you're an advanced user you shouldn't need to mess with this. Hit Done to continue. You'll get a confirmation prompt talking about formatting the disk (you'll lose all previous data). Mine is blank, so select Continue and carry on!
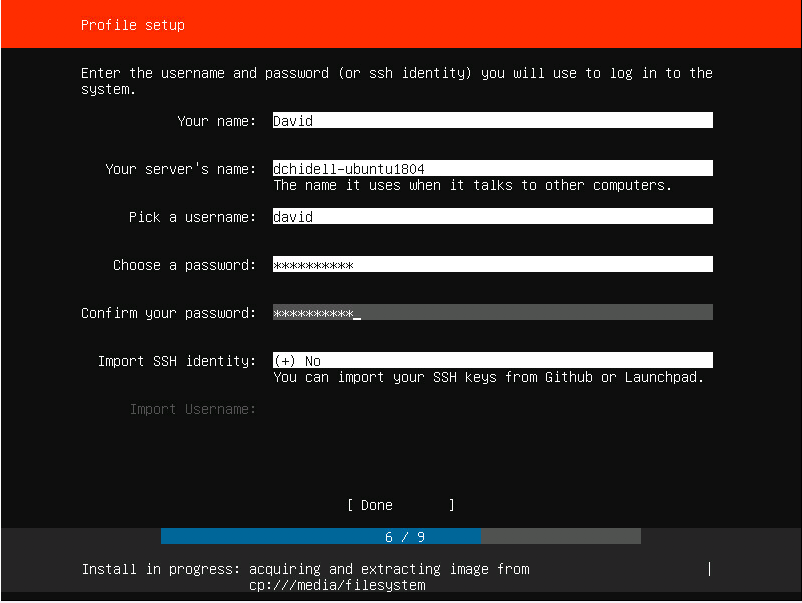
Enter all your details and continue. Also simple enough!
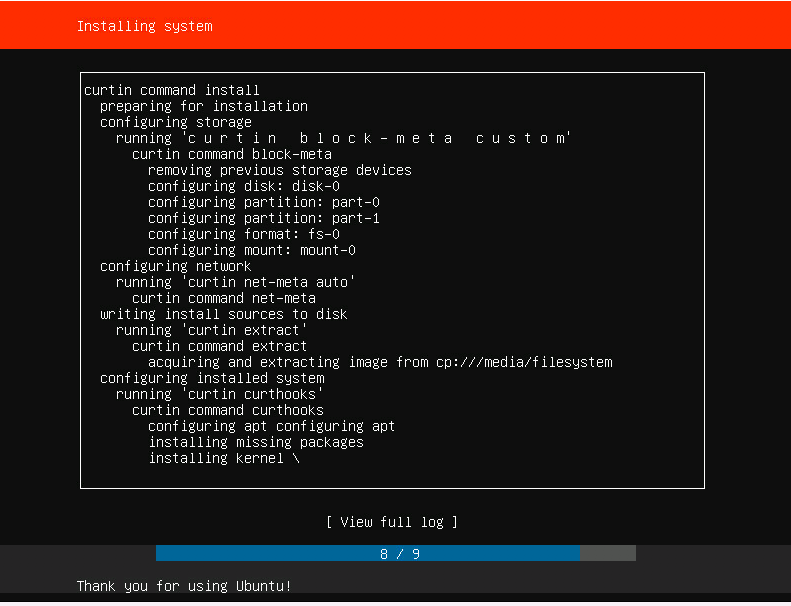
The system is installing! Great! Sit back and grab a beer while you wait (though drink it fast it doesn't take long).
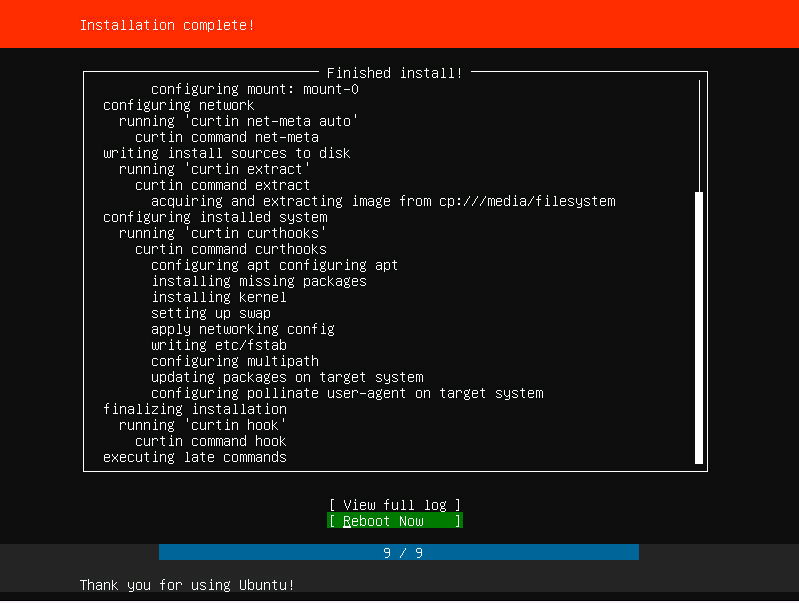
Barely had enough time to get up from my chair! Installation completed in a couple of minutes. Select Reboot now!
Now because I set up the IP address when I installed the machine - we don't need to screw around with the VMware console anymore! Just SSH to the IP and log in with the details you entered earlier:
dchidell@dchidell-mac:~$ ssh david@10.53.228.8
The authenticity of host '10.53.228.8 (10.53.228.8)' can't be established.
ECDSA key fingerprint is SHA256:zT5tA8UCjXl/qiVHzfsW5MjfRATqLo1O4qdwrVfv/6Y.
Are you sure you want to continue connecting (yes/no)? yes
Warning: Permanently added '10.53.228.8' (ECDSA) to the list of known hosts.
david@10.53.228.8's password:
Welcome to Ubuntu 18.04 LTS (GNU/Linux 4.15.0-23-generic x86_64)

 * Documentation:  https://help.ubuntu.com
 * Management:     https://landscape.canonical.com
 * Support:        https://ubuntu.com/advantage

  System information as of Fri Jun 22 13:54:09 UTC 2018

  System load:  0.6                Processes:             163
  Usage of /:   4.1% of 146.64GB   Users logged in:       1
  Memory usage: 2%                 IP address for ens160: 10.53.228.8
  Swap usage:   0%                 IP address for ens192: 1.0.228.22


90 packages can be updated.
43 updates are security updates.


Last login: Fri Jun 22 13:53:58 2018
To run a command as administrator (user "root"), use "sudo <command>".
See "man sudo_root" for details.

david@dchidell-ubuntu1804:~$
We're in!
Now comes some more of the network configuration...and this is where it gets a bit strange.
Ubuntu has now moved to using the 'netplan' package, which is designed to be a little more flexible? I guess...oh well, may as well move with the times and get used to it! Looks like it uses YAML which I don't mind, so how hard can it be!
There's plenty of netplan guides online, so I'll only cover the basics for what I need here.
The folder we want for network config is now /etc/netplan and we can see there's already a file in there:
root@dchidell-ubuntu1804:/etc/netplan#
root@dchidell-ubuntu1804:/etc/netplan# ls
50-cloud-init.yaml
root@dchidell-ubuntu1804:/etc/netplan#
root@dchidell-ubuntu1804:/etc/netplan#
root@dchidell-ubuntu1804:/etc/netplan# cat 50-cloud-init.yaml
# This file is generated from information provided by
# the datasource.  Changes to it will not persist across an instance.
# To disable cloud-init's network configuration capabilities, write a file
# /etc/cloud/cloud.cfg.d/99-disable-network-config.cfg with the following:
# network: {config: disabled}
network:
    ethernets:
        ens160:
            addresses: []
            dhcp4: true
            optional: true
        ens192:
            addresses:
            - 1.0.228.22/16
            nameservers:
                addresses: []
                search: []
            optional: true
    version: 2
root@dchidell-ubuntu1804:/etc/netplan#
Well doesn't that look familiar!
I want to convert my DHCP address to a static address, as well as add the routes to my various networks.
After some research I came up with the following:
# This file is generated from information provided by
# the datasource.  Changes to it will not persist across an instance.
# To disable cloud-init's network configuration capabilities, write a file
# /etc/cloud/cloud.cfg.d/99-disable-network-config.cfg with the following:
# network: {config: disabled}
network:
    ethernets:
        ens160:
            addresses:
            - 10.53.228.22/25
            gateway4: 10.53.228.1
            nameservers:
                addresses:
                - 8.8.8.8
                - 8.8.4.4
            optional: true
        ens192:
            addresses:
            - 1.0.228.22/16
            routes:
            - to: 1.0.0.0/8
              via: 1.0.0.254
            - to: 2.0.0.0/8
              via: 1.0.0.254
            - to: 3.0.0.0/8
              via: 1.0.0.254
            - to: 4.0.0.0/8
              via: 1.0.0.254
            optional: true
    version: 2
I then ran netplan generate which looked good! It'll spit out some errors if you have an issue.
netplan apply then applies the configuration you've saved.
I then validated the configuration, which worked!
david@dchidell-ubuntu1804:~$ ping 3.2.0.254
PING 3.2.0.254 (3.2.0.254) 56(84) bytes of data.
64 bytes from 3.2.0.254: icmp_seq=1 ttl=255 time=4.53 ms
^C
--- 3.2.0.254 ping statistics ---
1 packets transmitted, 1 received, 0% packet loss, time 0ms
rtt min/avg/max/mdev = 4.534/4.534/4.534/0.000 ms
david@dchidell-ubuntu1804:~$ route
Kernel IP routing table
Destination     Gateway         Genmask         Flags Metric Ref    Use Iface
default         _gateway        0.0.0.0         UG    0      0        0 ens160
1.0.0.0         0.0.0.0         255.255.0.0     U     0      0        0 ens192
1.0.0.0         1.0.0.254       255.0.0.0       UG    0      0        0 ens192
2.0.0.0         1.0.0.254       255.0.0.0       UG    0      0        0 ens192
3.0.0.0         1.0.0.254       255.0.0.0       UG    0      0        0 ens192
4.0.0.0         1.0.0.254       255.0.0.0       UG    0      0        0 ens192
10.53.228.0     0.0.0.0         255.255.255.128 U     0      0        0 ens160
david@dchidell-ubuntu1804:~$
As you can see, routes and DNS is working well!